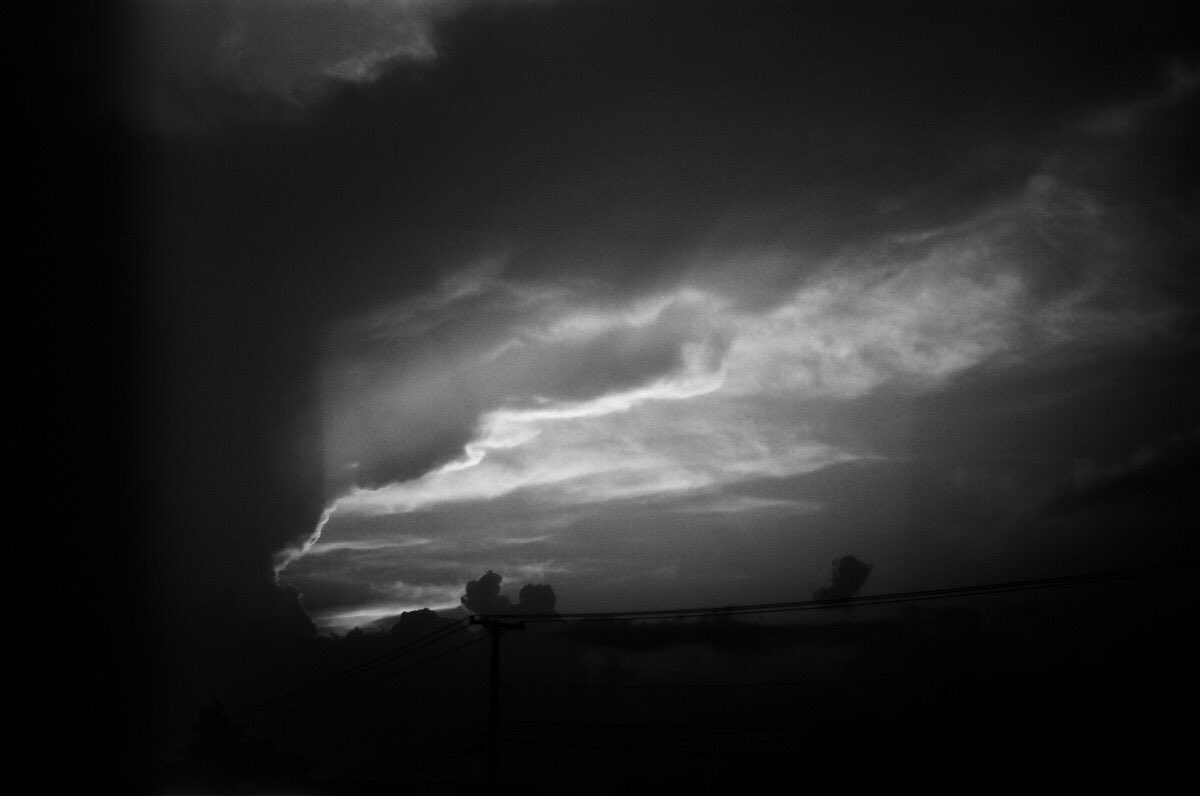
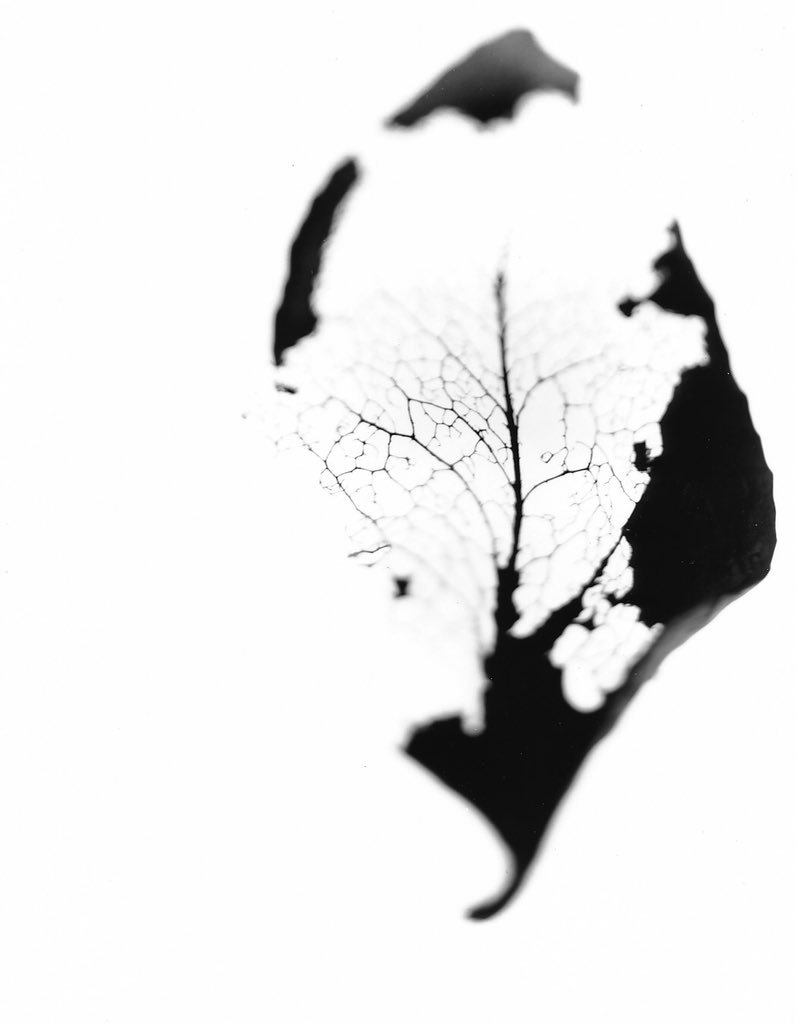
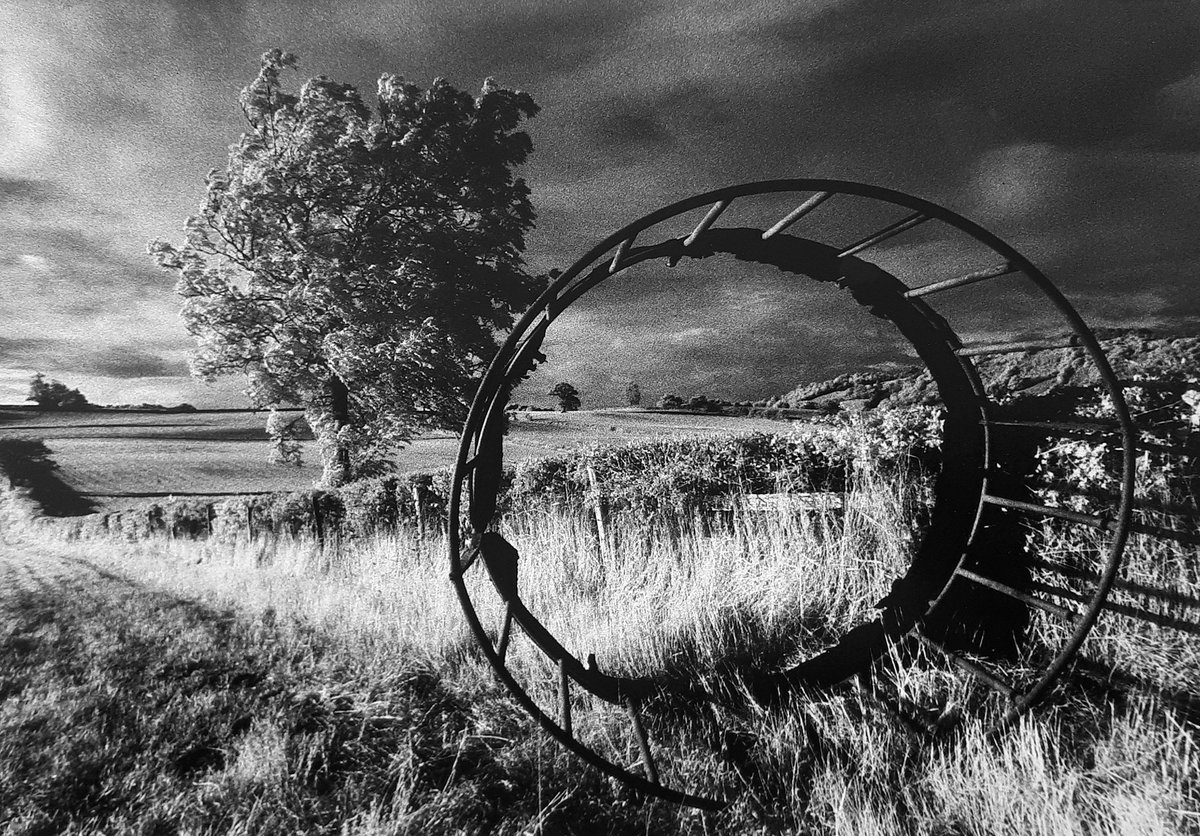
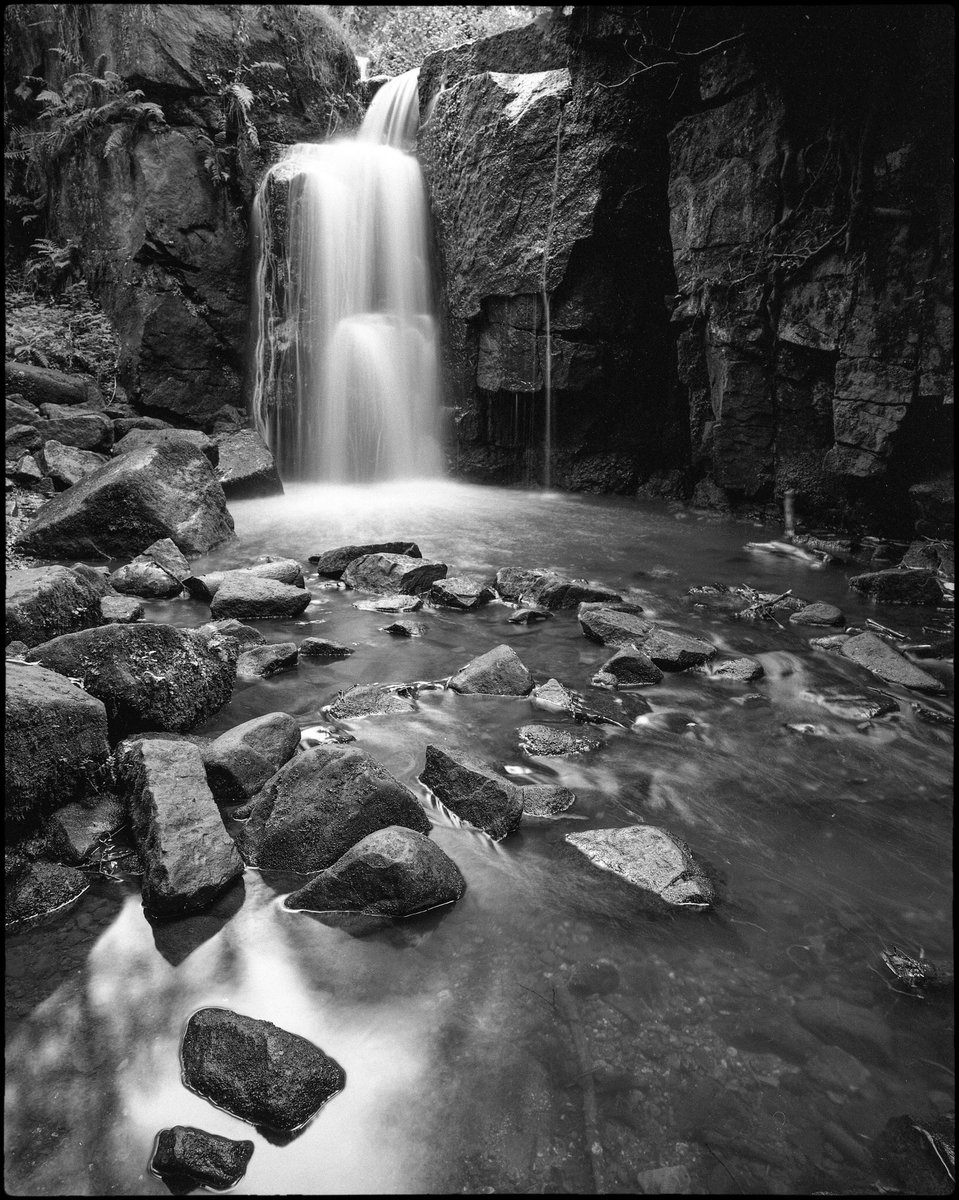
The zone system is a method of controlling tone in black and white film photography. It enables the user / photographer to have confidence that tones visualised when the shutter is pressed will be the tones seen in a final print. It involves undertaking careful film exposure and development testing (linked to an individual’s equipment and working habits) and removes the doubts of ‘hope it will come out’ photography.
Read MoreThe zone system in simple terms
Can you say why you love black and white film in one image? The gallery (part 2)
I asked the question and the Twitter photography community answered.
I have already published ‘part one’ of this gallery (see the post here). Such was the quantity and quality of answers that I felt compelled to make a ‘part two’, and here it is.
I hope you enjoy these images as much as I did.
Can you say why you love black and white film in one image? - The gallery (part 1)
The question is at once fertile and mischievous. Fertile because of the questions that it raises; mischievous because answering it is hopeless bordering on folly. As a black and white photographer, I know, to a point, why I like black and white film. I can begin to point to concrete things: grain, tonality, the gravitas of analogue, the philosophical frisson of the image imprint in silver. I can even come up with an image, or maybe two …. or of course more. Choosing but one is difficult.
So when I asked this question on Twitter recently, I sat back and watched the responses with pleasure. So many different, nay radically different, responses. I reminded myself that the photographers were trying to answer the question in just one image: this was ‘it’ for them, an essence, a core approach or love in a sea of possibilities.
Looking at the work, those other questions of which I write soon follow. Is it a black and white film portrait, or the person that is the object of the image maker’s interest? Is it that still life object rendered in film that seduces or is it still life on film more generally? Is it those streets / hills / trees on film or something more abstract again? Do we as viewers identify with black and white film first, or the genres of landscape, street, portraiture (and so on), and then film? Do we simply identify with the image because of its formal strengths, or because the making of it has some kind of significance (like the camera it was made on), or are there autobiographical factors (it was a happy time, a memory)? What role does the film stock play? Doubtless the answers are multi-faceted. All from that seemingly simple question.
Delighted by the response on Twitter, I decided to offer a home to the images. In fact, there are so many that I will be publishing a ‘part two’ in about a week’s time. I started out almost systematically trying to include all the responses to my original post, but the task became simply too big. So please find my humble attempt at a gallery below. It is doubtless coloured by my own eye, and has certainly been limited by the practicalities of contacting folks for image permissions and of putting it all together. Apologies if I’ve left you out, it is more by accident than design.
For simplicity, I have left the Twitter name to stand for the photographer’s name, especially where a proper name is legible from that. I’ve included proper names where it made sense to do so, and some photographers gave me more information (which I’ve added). Some people requested links to their sites (these are next to the names). If I have your name wrong, please get in touch and I’ll change it. The names of photographers published herein are also an assertion that the copyright of the image belongs to them.
I hope you enjoy seeing the images together like this (I certainly have), and please do look out for the gallery part two.
Can you say why you love black and white film in one image?
I asked this question on Twitter the other day and the response has been overwhelming.
So many interesting images were posted by way of reply, and I’ve begun to think they really deserve a home. I’m therefore going to create a gallery blog post, with a little modest commentary (like I did for #Treephotogallery).
If you replied with an image, I’d like your permission to include it in the post. Please send me a direct message on Twitter signalling your permission, or use the contact form on this website. If you have not yet submitted an image and want to, either reply to the original post or get in touch directly. Don’t forget to signal your permission for publication too.
The small print:
Participants agree to publication on this website, and therefore license me, without charge, free and unhindered use of their image. The copyright will of course remain with the photographer. I may not be able to use all images due to space (and time). If your work is not selected, please note this is not a verdict on your work. Naturally, my own eye and preferences will also be at work.
Cannon Hill Park
Leaves and Fence
Building in the Woods
Raise your camera ... saying yes to it
As a young street photographer, I couldn't get Meyerowitz's words out of my head. It seemed such apposite advice for the would-be street shooter: you will find yourself looking on and thinking, but think too long and the moment will be gone.
I'm not entirely sure that it's a motto I've been able to live by as a photographer; I'm not properly convinced it suits my style, nor have I always been brave enough to execute it.
The above recent image is, however, one of those moments where I followed Meyerowitz's mantra exactly. I had been shooting all day long, and had long shrugged off any early self-consciousness or hesitancy (that's usually the way it goes for me: starting gingerly, getting into the flow). I saw the scene from the corner of my eye and immediately raised my camera. There was next to no time to frame, and my press of the shutter was immediate too.
It was one of those images, where I intuited that something had taken place, but wasn't sure it had come together. I'm not even sure I could have had time to perceive the whole thing; it really was a case of intuition and experience leading the exposure.
I enjoy the mystery of the image, and that it is made up of a number of interacting elements.
Window Light and Flowers
Visualising the big print (or, my continuing adventures in large format)
I have become increasingly aware of a little problem in my work on 5x4 of late, and it is, amongst other logistical issues that come with 5x4, a reason why my large format adventures have stalled somewhat. I’m still very much in the early stages of my work with the format, beginning to learn the craft, feeling my way, and asking myself how I will ultimately use it - assuming I continue in the longer term.
It is part of my photography philosophy that an outcome must be determined for a particular process. The ultimate form the image will take determines camera choice, development, digital processing or whatever. If this is a print - and it mostly is for me - the desired dimensions, paper choice, whether it is darkroom or digital, will clarify, and to some extent dictate, the workflow that leads to it. I see too many people who put the cart before the horse: they spend hours researching and pondering their ideal camera, and yet show little or no awareness of the kind of image they wish to make.
When one studies the results of one’s workflow, a cycle of reflection develops and information fed back to the shooting stage. This is a key ingredient in the craft of photography: the photographer is able to visualise the finished image even before the shutter is pressed. More practice with a given workflow leads to more technically refined images, which in turn leads to a more fluid expression of artistic ideas.
So onto my issue with 5x4. The nub of the matter is that I don’t have access to a 5x4 enlarger, and so can’t make a darkroom print. I have made contact prints of course, but this is not the goal for me (and I would wager for most people using 5x4, the negatives just make prints that are too small). 10x8 would be a different matter, but 5x4 wants to be enlarged. Why else are we shooting 5x4 if not to make big prints? There may be some residual and aesthetic properties flavouring the scanned image when looked at side by side with a digital counterpart, but it is hardly night and day. If I’m going to the trouble of shooting 5x4, I want night and day.
The image above shows a step towards solving this issue, albeit it entails a digital pathway rather than a silver one (which does inevitably make the unrealised darkroom print my elephant in the room, for now). I had the negative in question scanned by a lab to make an impressive 281 mb file. That is approximately 93 megapixels of information. I prefer to print my own images wherever possible, due to the control of the workflow I have already referred to. I would, however, out-source a large print providing I had been able to work on and study small sections first.
Please forgive the somewhat crude use of two sheets of paper to make the image. They are simply placed side-by-side to make the larger print, and hence to get a sense of the scale of the image (you can see the join, and they are slightly out of register in the photo). I have included the contact print for scale. Now, I will leave aside the issue of what constitutes a ‘big’ print, because, as ever, such things are relative. For some practitioners the size shown here is hardly big at all. However, in my own practice, in the making of the kinds of fine print I enjoy, with the detail and tonality that I usually covet, this is a big print. To use a phrase that once had a pejorative slant, I want to be able to ‘sniff the print’. That is, I want the detail to hold together on close inspection. (Detail is a function not just of print size, but viewing distance too. The received wisdom is that prints need not be so detailed as they get bigger because the viewer will be further away, if the whole is to be seen. I want my viewer to be able to ‘step in’ and look at a section close up.)
You will see that the subtext here is that 5x4 does indeed provide a means of providing the kind of large print I envisage making (others will not be surprised, but, given my philosophy of seeing for myself, this is besides the point). Even in its somewhat improvised state - and I have only processed it to a limited extent too - it is an impressive thing. There is no sense of the tonality ‘running out’ that you sometimes see with 35mm enlarged too far. There is hardly any visible grain at all (the negative is Delta 100 developed in Perceptol). The central trees offer a clear structure to the ‘overall’ image, and yet, as a somewhat busy image, there are lots of little episodes and separate dioramas to enjoy.
The big print underlines some technical issues too. I remember being concerned about accurately timing the indicated exposure of two and a half seconds. I decided to make three separate exposures (thus leaning on my shutter’s accuracy), but had underestimated the effects of what I thought to be a gentle wind. You can clearly see where branches and leaves have moved between exposures. Hardly discernable in the contact print, but clearly evident in the enlargement. This is a great example of information that will now be fed back into the earlier stages of my process. I hope it clarifies what I said above and that the reader can see why I wish to be looking at the proposed product (print) in the way I do. I now know what my materials and equipment will do in a given situation should I want to make this type of print again.
This somewhat improvised print may well then prove to be something of a quiet milestone in my work with 5x4. Happily, there is work to be done, but this is an essential technical step to formulating what will ultimately be my artistic response. My adventures in 5x4 continue, if a little slower than I had originally envisaged.
Young corn in HP5+
Ilford HP5+ developed in LC29 1+19 6.5 mins 20c
On buying gear: enjoyment not evolution
A great deal of ink has been spent in the photographic press on the question of the superiority of digital photography over film and the former’s inexorable rise to prominence in the industry. Fear not, for this is not yet another film vs digital tract; I think my own position of a ‘either or both, as you desire’ is a subtext of my blog, if not something I have broached on occasion.
I think a better question, in this golden age of availability of photographic equipment and consumer choice, is ‘what aspects of your photography do you enjoy?’ Then there is a related question: how might an answer help you shape your engagement and buying choices?
I am enamoured with small format cameras that have the potential to make big prints. My Sony A7II fits this bill very well, and there are other Sonys that fit the bill even better (I have in mind the A7 ‘R’s and their iterations, and naturally we could add other makes and models). I like to walk around with a piece of technology with this capability in my hand. The digital viewfinder has the ability to aid rigorous focussing and this is an integral part of large-print making.
Yet I am aware that the experience of using the Sony A7 viewfinder leaves me a little cold. For this part of my photography I look to my Leica M6TTL and mostly black and white film. An uncluttered viewfinder in combination with the most simple operation brings me closer to my subject and lets me focus on the moment. The thought of the exposure being laid on film, together with my understanding of how to process and print my images - in short, my visualisation - is integral to my existential photographic pleasure. (Lest my struggle for the right words imply an otherworldly dimension to this, I think this is a largely technical and mechanical effect - belonging to the medium.) Do my Leica negatives compete with my Sony A7 for large prints? Of course not, nor do I expect them too. The point is that the Leica brings a quite different dimension to my practice.
When I analyse my choices in the acquisition of equipment, I realise that I have made some very conscious decisions regarding what I enjoy, and moreover that I live with the compromises of my chosen media because I see them as integral parts of it. Living with limitations makes you work with them, and before too long you begin to enjoy them too. Critical photographers will ask not just what they need, but whether what they have is still right for them. For me, simply possessing it means that it must continue to be chosen - or be replaced by something else that gets me closer to this photographic enjoyment.
So look not on your equipment as a marker in an evolutionary scale of advancement (the old digital bettering film), its increasing age signalling a need for replacement, but as an indication of your photographic enjoyment. ‘Upgrade’ if you must, not to abstractly improve your equipment, but to better serve your personal and idiosyncratic needs.
Go yellow
Here's a little tip if you're shooting anything with sky in it on black and white film. Fit a yellow filter on your lens. This filter darkens blue, leading to better separation between sky and clouds (thus helping to avoid void-like white skies too).
Other benefits of a yellow filter include giving better separation to foliage (it lightens green, yellow, orange and red), and, for many, more natural skin tones. Sure, you'll lose a stop of light (the filter shields the light entering the lens by a factor of two, i.e. the same scene needs twice as much exposure). If you are metering through the lens, there is no practical penalty to this, other than that speed loss.
A good addition to the kit of the black and white film photographer.
Barber Barber, Birmingham
Sometimes a street photography scene comes to you. That was certainly the case here, as I walked past Barber Barber for the first time. This impressive establishment is located in the new Grand Central complex in Birmingham, and is positively baroque in visual features, not least the colourful atire of the staff (or 'scoundrels', as I believe they are called). The whole thing is patently designed to be looked at, with wall to floor glass to the front.
I double-backed, spent a moment or two framing, and waited for the figures to fill the spaces in a pleasing and dynamic way. I knew the lighting and visual interest would work well in black and white. A case of right film, right camera, right place.
Be a better photographer - tip 8
Find the street scene, then wait for actors
In a great deal of the best street photography work there is a special relationship between the setting and the people in it. We often find ourselves marvelling at these shots because not only is the composition elegant and convincing, but there is a person in ‘just the right’ place in the frame. There is a coming together of setting and event, and in the very best this carries the extra weight of a poignant meaning as setting and actor(s) create a frisson. Henri Cartier-Bresson is one such master of this technique.
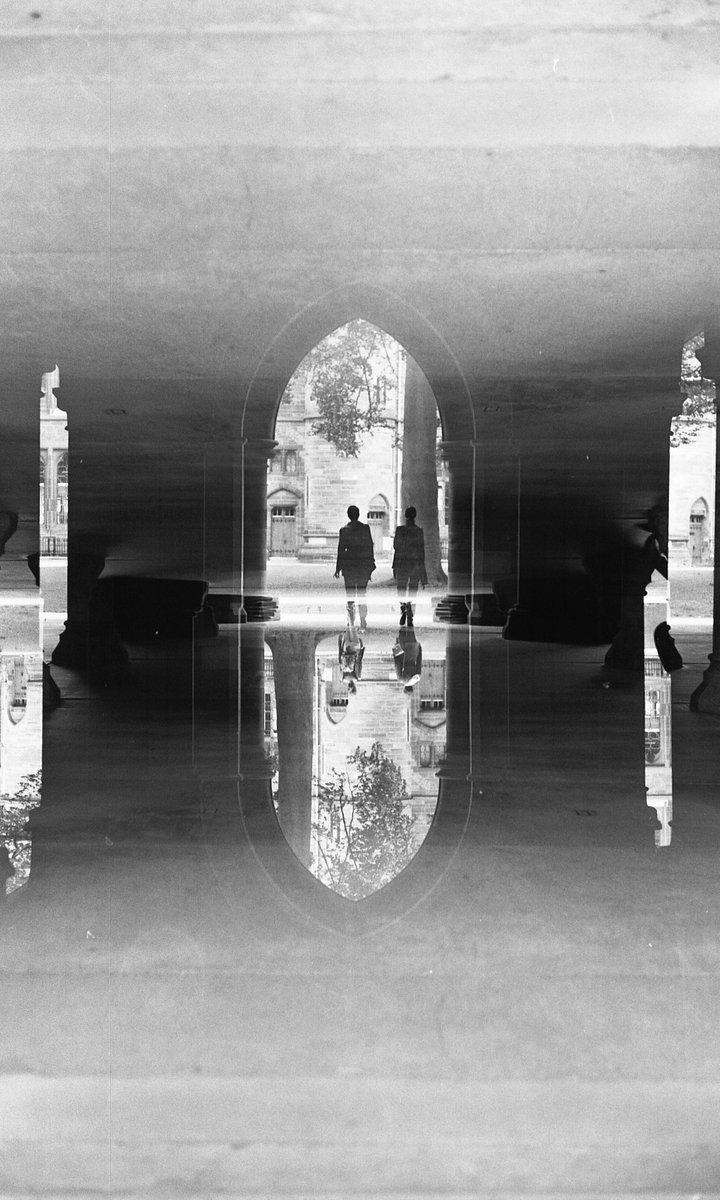
There is a simple technique you can use to make this happen in your shots (not that I’m promising you’ll immediately become a Cartier-Bresson). You simply find a setting you like, paying attention to composition and the shapes in the frame, and wait for somebody to arrive, in the right place.
In the image above, I was struck by the scene and the view through the opening (the slanting tree caught my eye), long before anybody arrived. I realised I could use this technique and wait for somebody to walk into the frame. It took several attempts to get somebody in the right position, and the right somebody, posture particularly, at that. I enjoy the way the woman’s leaning stride echoes the leaning tree. This elevates the shot from a view that catches the eye to something more.
A great technique if you’re into street photography.
Silhouette and Windows
Be a better photographer - tip 5
Deepen your vision by shooting in black and white
This tip is deceptively simple: shooting in black and white allows you to concentrate on the photographic essentials of shape, texture and tone.
Setting your camera to shoot monochrome jpegs or choosing a black and white film, you dispense with the complexities of colour relationships and enjoy a simplification, an intensification even, of your vision. I say deceptively simple, because although you 'dispense' with one layer, you still have plenty of work to do. It is challenging to translate the colour-based world of ordinary vision into a convincing arrangement in grey. You have to watch light carefully, think about the tones that will be produced and how they will work together, follow shape and line, and observe the play of texture and form.
If you are used to colour work, you may get a sense of liberation in this. It can be a little holiday from colour relationships - which affect your work whether you know it or not - that makes returning to colour work a pleasure again. You discover a world that is utterly photographic in kind, a world unlike our vision, and become acquainted, or reacquainted, with some basic concerns of image building.
Be warned though. Black and white in itself is very addictive. There is no shortage of eloquent advocates who see it as the highest, most lyrical, or purest form of photography. While this tip is a little more modest and practical in aim, you may just become initiated into something much bigger.
Alliums against a wall
I did a little smartphone photography the other day.
The original file was in colour. I imported it into Lightroom, converted it to black and white, and cropped it to a more agreeable shape. I then spent a bit of time working on the tones, ensuring that the alliums stood out against the background. I used mainly the basic sliders in the develop module, along with some neutral density filters to even out the tones. This was the biggest challenge because the original has some subtle but visible shadows and I wanted to neutralise them somewhat. A useful tip is to squint to see if the tone works. You can also try standing back from the screen to see if anything looks uneven.
I've included the original shot below so that you can get a sense of the processing. It's wonderful to have such smartphone technology. It was one of those occasions where I was without a camera, on my way to an appointment, and just happened to spot the wall. Having my mobile with me gave me the option to exercise my creativity and see if my visualisation of the black and white image would work.
In praise of XP2 Super film
Somebody asked me the other day 'what film is in your camera right now'. I answered XP2 Super, and called it one of my favourites. Why?
If you are unfamiliar with film, I can begin with a recommendation: try XP2 because it's easy to use. There's an argument along these lines for all 'medium' speed films of course (400 ISO), film having a notorious 'latitude' (meaning that even under- or over-exposed frames will print to some degree of use). XP2 is especially forgiving, it absorbs extreme highlights and reproduces them as kind light greys rather than blocked-up paper whites. Indeed, XP2 thrives on generous exposure; one of its other qualities being that the grain appears most pronounced in the shadows - the reverse of traditional emulsions like HP5 plus.
To ease of use we can add convenience. XP2 is processed using colour chemistry, something that you can still find in many places on the high streets of the UK (though, alas, diminishingly so - kudos to Boots and Frosts chemists in my locale). I am a pretty slow photographer, so my shots build up over time. I really enjoy the fact that I can get a film developed whilst out and about shopping, pick it up a little later, enjoy 6x4inch proof prints, and select which frames to work on in earnest in the darkroom another day. I should add for completeness that I am referring to 35mm, shot in a rangefinder.
Ilford materials are developed to work well together, and I enjoy the look of XP2 printed on Ilford Warmtone Multigrade Fibre Based paper. I want to say that there is a luminosity to XP2 that this paper allows to shine. I strongly suspect that the aforementioned forgiving nature of the film makes for a generally easier ride in the darkroom. Some may read this as a lack of control (developed in colour chemistry, by someone else, remember), but my experience is that even when darkroom controls are limited, they are plentiful.
Scanned XP2, especially when dust reduction or grain suppression software is applied, can look somewhat 'digital', i.e. very clean, almost 'waxy'. The behaviour of the grain mentioned above plays a part here too. If you dig into and lighten those shadows too much unpleasant textures can emerge (of course, all this is subjective, you may want to do that). Economical Leica Monochrom anyone? One could get a second hand Leica M6, a Nikon Coolscan film scanner, a couple of rolls of XP2, and satisfy both digital and darkroom black and white yearnings.
One last thought. Following from my own experience and the wise words of others, begin by rating XP2 Super at 200 for general work (or 400 for low light), but change your camera to 100 when in bright, contrasty light. This allows the shadows to receive adequate exposure, in the face of your camera's light meter which will be compensating for the abundant bright areas. Highlights receive 'too much' exposure using this tactic, but recall that this doesn't matter because XP2 doesn't 'blow out' like digital. This is XP2 Super.