5. Make a ring-around
For this exercise I’m going to assume that you are using a film (and developer) with some regularity, and that you have a pretty well-established development regime.
You will need to shoot three rolls of film. Firstly, shoot your typical subjects at ‘box speed’ (i.e. the ISO as stated on the film box). For example, if you are shooting HP5+, you would go with 400. It does help to have one or two test subjects (e.g. a given room with consistent lighting) that will provide a reference point across the films.
Next, you shoot more of your typical subjects (re-do that test subject too) but this time at a stop under and a stop over that box speed. You might simply want to change the ISO on your camera, so that you can simply get on with shooting. Therefore, in my 400 speed example, I would shoot some frames at 800 and some at 200. It takes some discipline, but it’s really worth making note of all your exposures as you do this exercise.
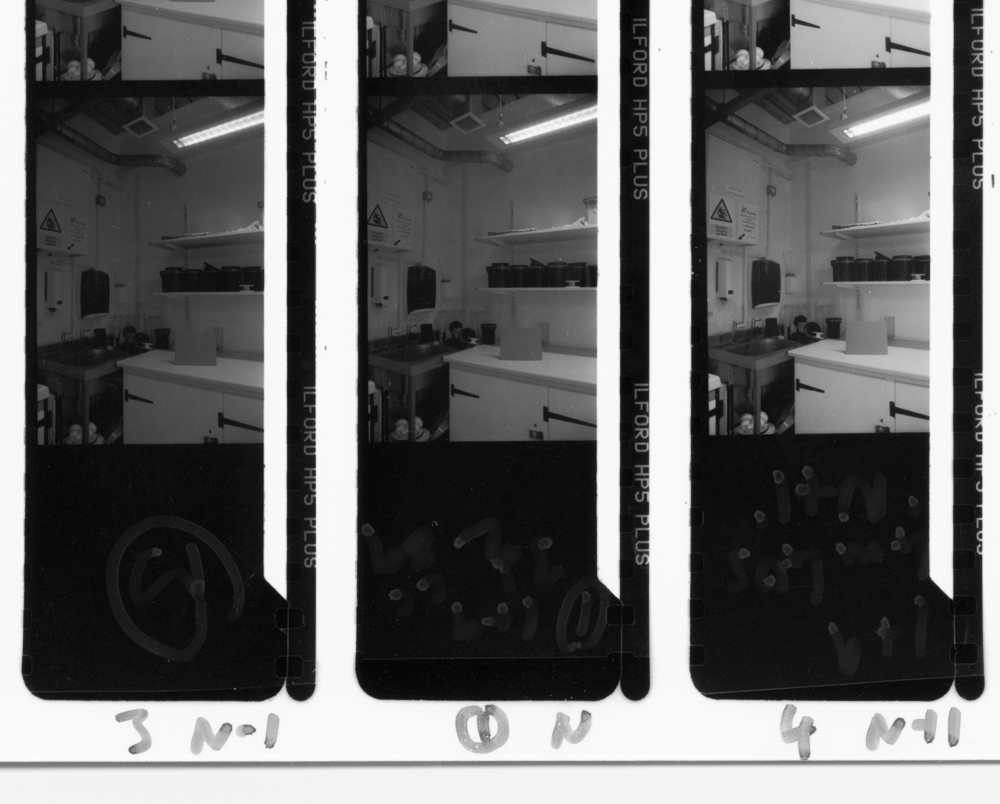
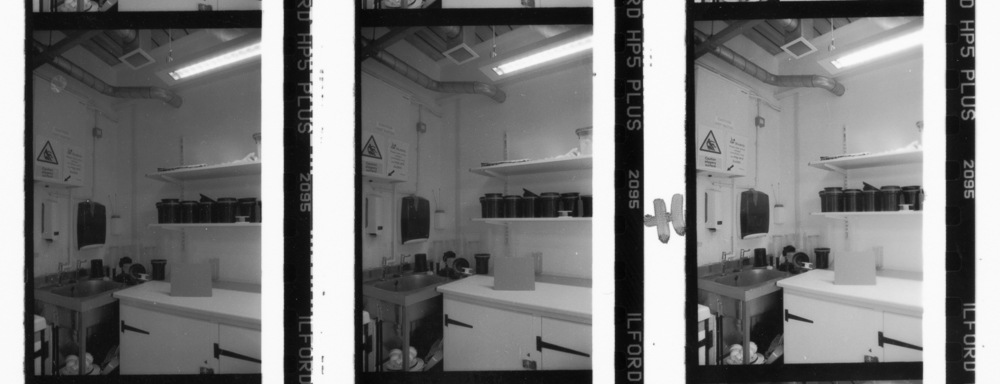
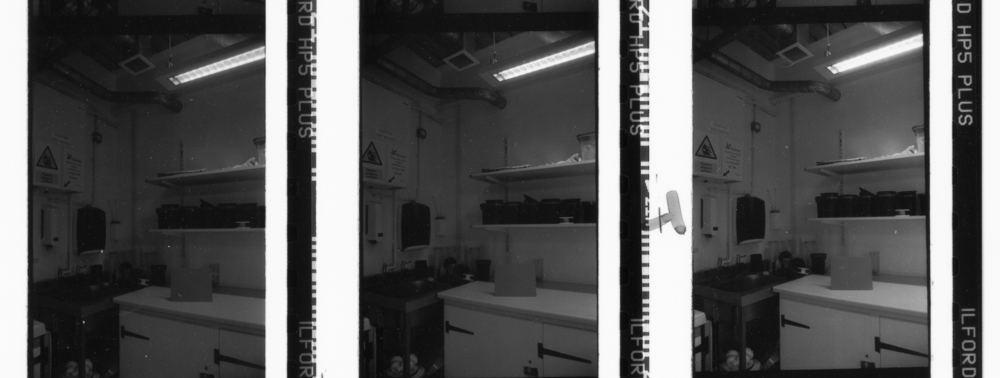
When the films are finished you then develop them in the following way. For the first you follow the manufacturer’s guidelines for the developer in question. Opening up my box of HP5+ I find a handy chart which will tell me the time with the developer I'm using. For the next film you add 20 percent to the development time, so as to ‘over-develop’ the film. You may have guessed that for the remaining film you are going to reduce the original manufacturer’s time by 20 percent. This will give you ‘under-development’.
When you are done developing you make a contact print of the results, in your usual manner. In the following image you can see just such a contact print, here showing the ‘normal’ development, and what is labelled +1 and -1, meaning our +20 and -20 percent. I have asked you to do a lot of hard work so far, but already you have a lot of really interesting information. Do you prefer the manufacturer’s development time, or the over- or under-developed version?